i)
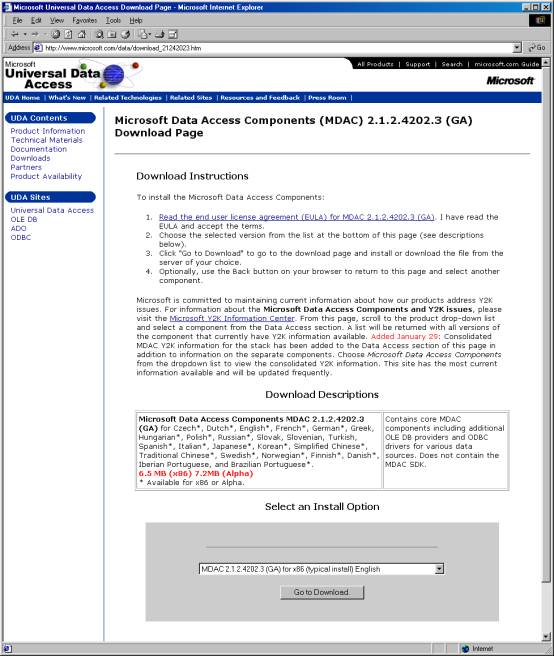
Download MDAC 2.1.2.4202.3 (GA) (Microsoft Data Access Components SP2)
from the Microsoft web-site http://www.microsoft.com/data/download_21242023.htm
and install it on your computer. Detailed instructions on this are available
from Microsoft http://www.microsoft.com/Data/MDAC21info/MDACinstQ.htm
.
Picture 27. The MDAC Download
page at Microsoft’s web site
Download the MDAC –component
by clicking the Go to Download –button
at the bottom of the screen. Select the Save
this program to disk –option and click the OK –button. See picture 28 below.
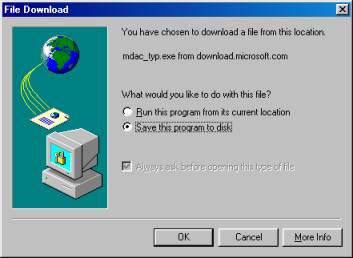
Picture 28. File Download dialog
1
Save the file by selecting a
suitable location on your fixed disk and clicking the OK –button in the Save File –dialog window. See picture 29
below.
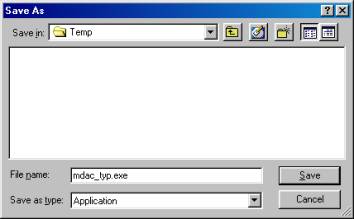
Picture 29. Save As –dialog
for MDAC Download
Please note where you saved the
file, as you will need to invoke the file by double clicking it in Explorer to
install the MDAC components. See picture 30 below.
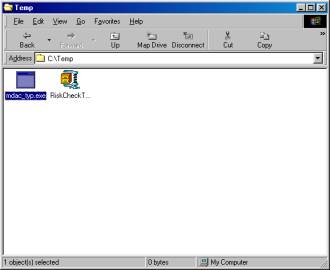
Picture 30. Explorer view of the MDAC installer file
Double click the mdac_typ.exe
file to launch the MDAC installer. Follow instructions given in the installer
screens. See picture 31 below.
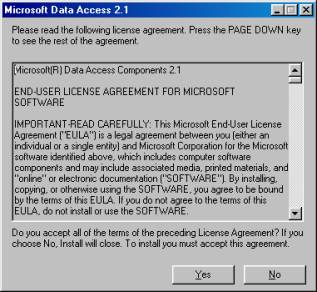
Picture 31. The End-User License
Agreement dialog
First you have to Read the EULA
and accept the terms by clicking the Yes –button at the bottom of the window.
If you can not agree to the Microsoft EULA for some reason then you can abort
the installation of MDAC and RiskID now by clicking the No –button.
If you accepted the EULA you
will be taken to the set-up screen. See picture 32 below.
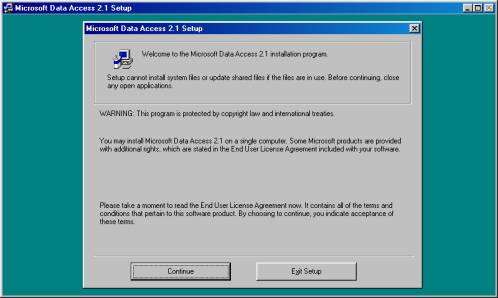
Picture 32. MDAC 2.1 Set-up
screen
Click the Continue –button to start the install of MDAC.
To install MDAC click on the computer
icon
![]() in
the upper left-hand corner of the Set-up screen. See picture 33 below.
in
the upper left-hand corner of the Set-up screen. See picture 33 below.
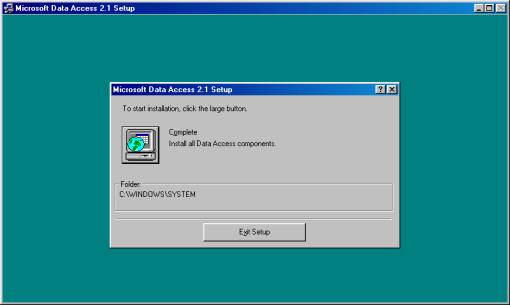
Picture 33. MDAC Set-up screen 2
When the set-up is ready you
will be presented with the following dialog box. Exit the installer by clicking
the OK –button. See picture 34
below.
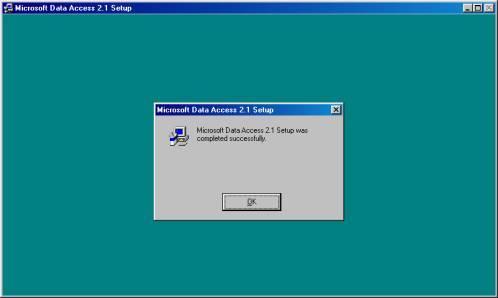
Picture 34. MDAC installation
successful dialog
ii)
Unpack the ZIP-archive with e.g. WinZip [ http://www.winzip.com
] (RiskID.zip) that contains the RiskID database and browser into a folder on
your fixed disk e.g. C:\Program
Files\RiskID.
By double clicking the
RiskID.zip file you will see the following window open if you have WinZip
installed on your computer. See picture 35 below.
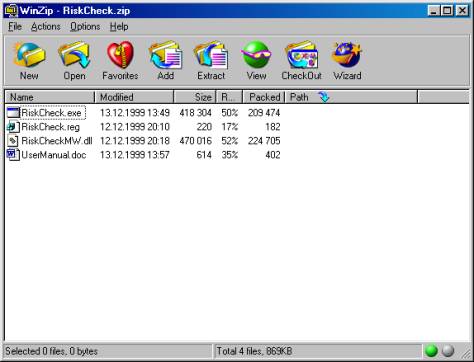
Picture 35. WinZip window for
RiskID extraction
Click on the Extract –icon
![]() in
the middle of the toolbar.
in
the middle of the toolbar.
Type the extraction location
e.g. C:\Program Files\RiskID into the
Extract to -text box in the upper
left corner of the WinZip Extraction dialog box. When ready click on the Extract
–button. See picture 36 below.

Picture 36. WinZip Extraction
dialog
iii)
Browse with Explorer to the
folder you created in the previous step and apply the registry setting needed in
RiskID by double-clicking on the file RiskID.reg and by clicking the Yes
–button in the dialog box that appears on the screen. See pictures 37 and
38 below.
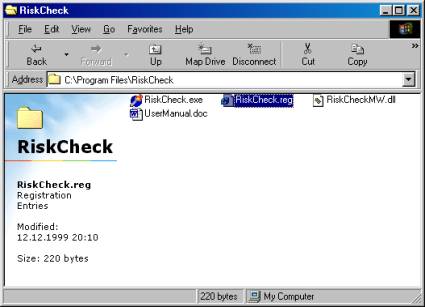
Picture 37. RiskID folder view
in C:\Program Files\RiskID
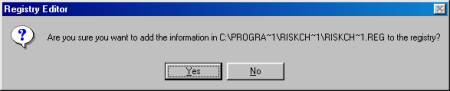
Picture 38. Registry information
insertion notification
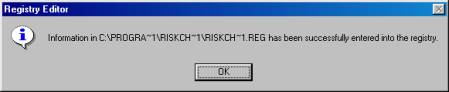
Picture 39. Registry insertion
acknowledgement
Click OK to close the acknowledgement window.
iv)
Start regedit.exe by clicking Start-Run…
and type into the Run –dialog
box regedit.
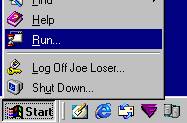
Picture 40. Open the Start-Run
–dialog
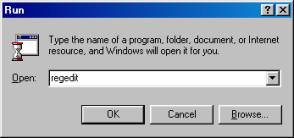
Picture 41. Run dialog to start
the registry editor
v)
Check the key DSN from the
registry path HKEY_LOCAL_MACHINE\Software\RDWare\RiskID
and change the path in the DSN-key to
the real path where you unpacked the RiskID
–archive in the second step above.
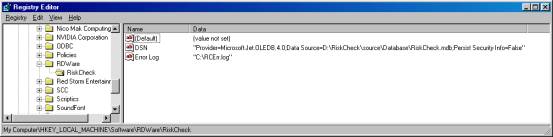
Picture 42. The HKEY_LOCAL_MACHINE\Software\RDWare\RiskID
registry entry
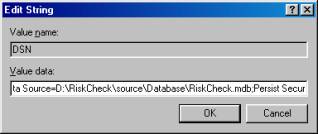
Picture 43. The directory
information to change in the DSN –key
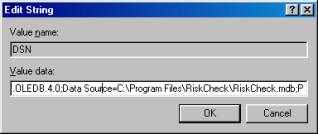
Picture 44. The corrected value
for installation into C:\Program Files\RiskID
Now you can close the Registry
Editor.
vi)
Open a DOS-window and change to the directory you created in step 2 e.g. CD
“C:\Program Files\RiskID”. See picture 45 below.
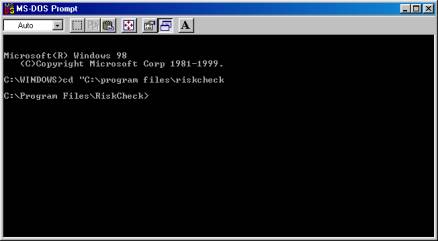
Picture 45.
MS-DOS Prompt
Run the
command C:\Windows\System\regsvr32
“C:\Program
Files\RiskID\RiskIDMW.dll” in the command prompt including the hyphens
around the
path. See picture 46 below.

Picture 46.
MS-DOS Prompt – DLL Registration
And finally you should get the following dialog to acknowledge the successful inclusion
of the DLL
–file into your system. See picture 47 below.

Picture 47.
MS-DOS Prompt – DLL registration successful
vii) Now you are ready to run the RiskID.exe executable and start using the program. Have Fun!